How to Decorate a Christmas Tree Like a Pro
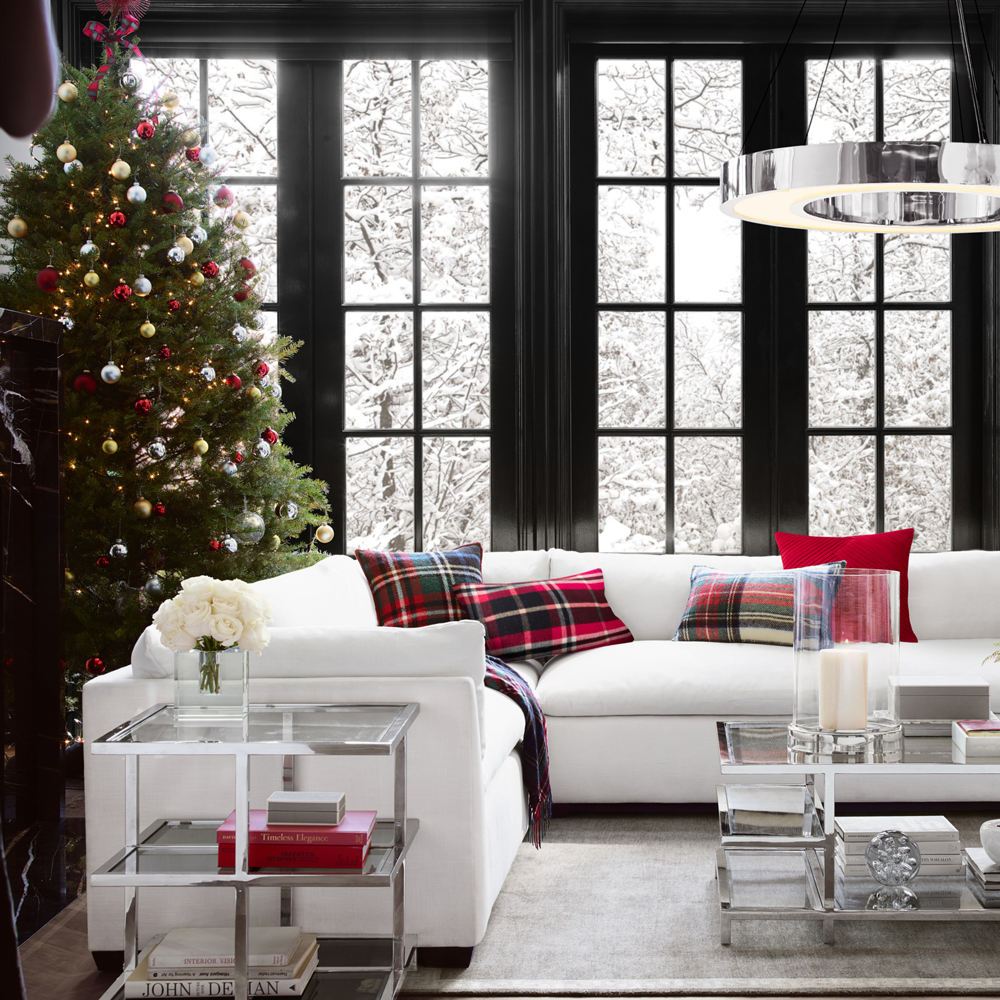
If there's anyone who knowsreally knowshow to decorate a Christmas tree, it's Wayne Maness. Not only is he the Head of Product Design for Williams Sonoma, he also decorated the White House Christmas trees for 13 years for Presidents Clinton, Bush and Obama. At my family home, we have a three-car garage that only fits one car because of all the Christmas decorations, he says. With that in mind, we figured there's no better person than Wayne to walk us through the proper way to decorate a Christmas tree.?
Here are his detailed-but-totally-doable steps.
1. Choose your tree.
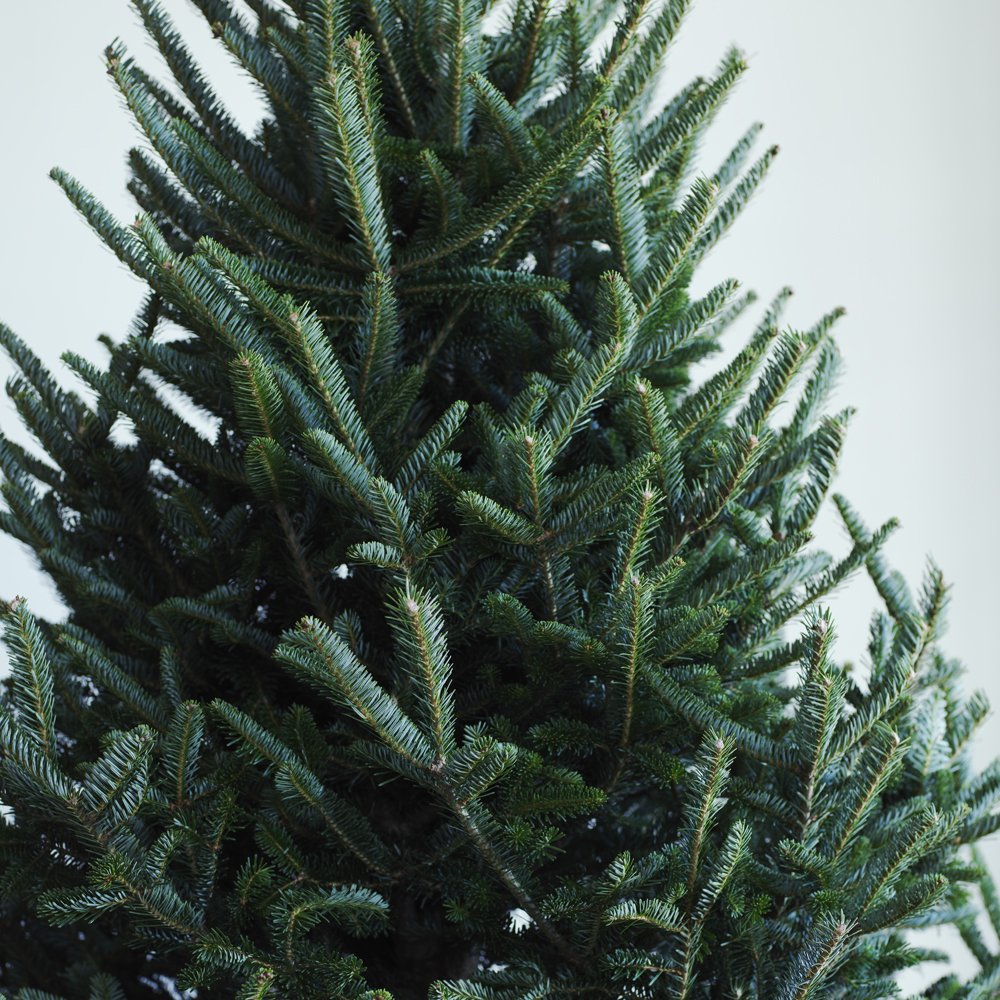
A fresh tree is always stunning, says Wayne, but if you invest in a quality faux tree, they can be equally showstopping. Artificial trees are great because you can leave them up for a longer period of time, he says. Just spend some time fluffing up the branches: Start at the bottom (at the trunk) and work your way up in a circular manner. Create depth by making sure the branches don’t align; it makes trees look fuller and more real, Wayne says.
2. Think about your design scheme.
There's lots of debate around the best way to theme a tree, but, really, the choice is yours! The interior decorator way is to pick colors that match your home’s decor and let that drive the idea, Wayne explains. For example, if you have a beach house, you'd do a white and blue themed tree and then add a metallic (like silver) to make it festive.
However, if you’d rather tell a story with your tree (about your worldly travels or your love of food, for example) or you want to just use a collection of family decorations, Wayne says you can tie it all together by adding a layer of large orb ornaments in a single color (think: classic Christmas hues or metallics). Something cohesive will serve as a base for your mix-and-match ornaments.
3. Add the lights.
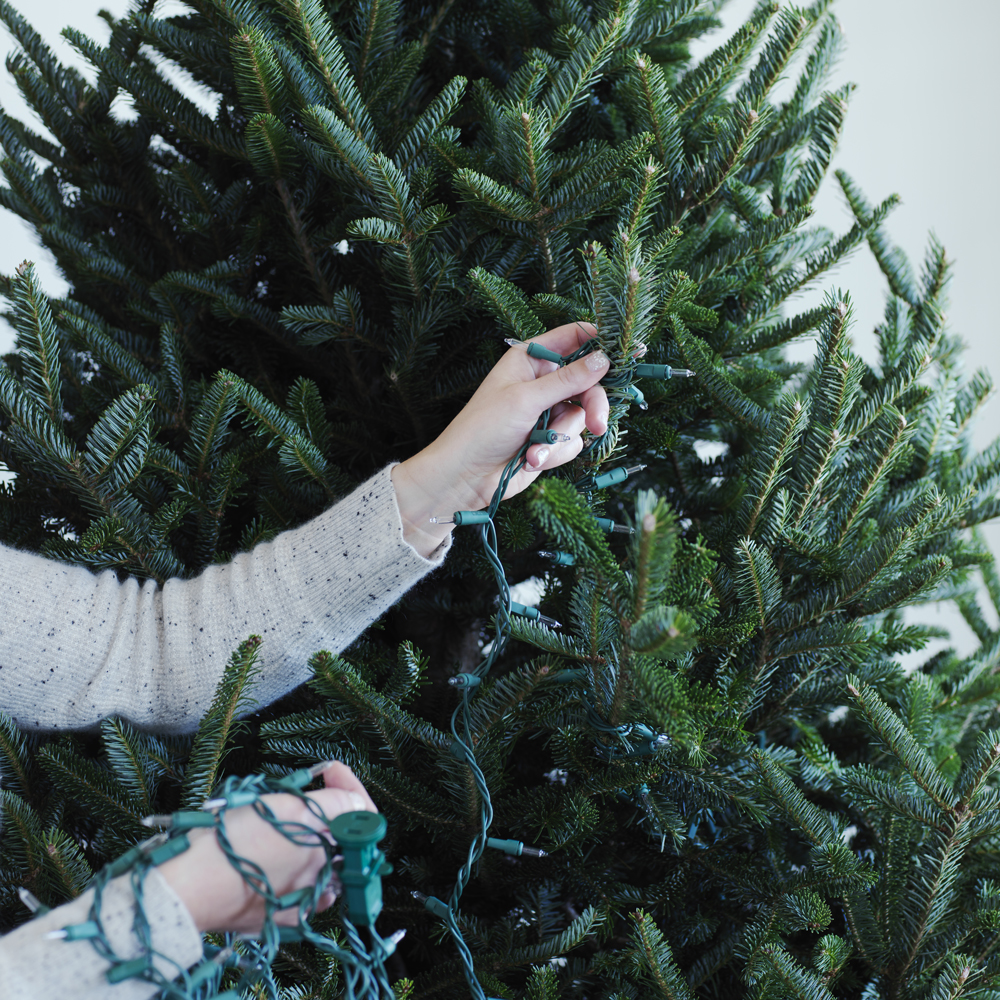
Lights go on the tree after you devise a plan and before you hang the ornaments. Wayne says you’ll need about 100 lights for every foot of tree you have. So, a 7-foot tree gets 700 lights, he explains. I usually go a bit heavier, but don't short circuit your house! He has a great method for checking your work, too: Stand back and squint your eyes all the lights in the tree will sparkle and you'll easily be able to identify any dark spots.
4. Hang the first layer of ornaments.
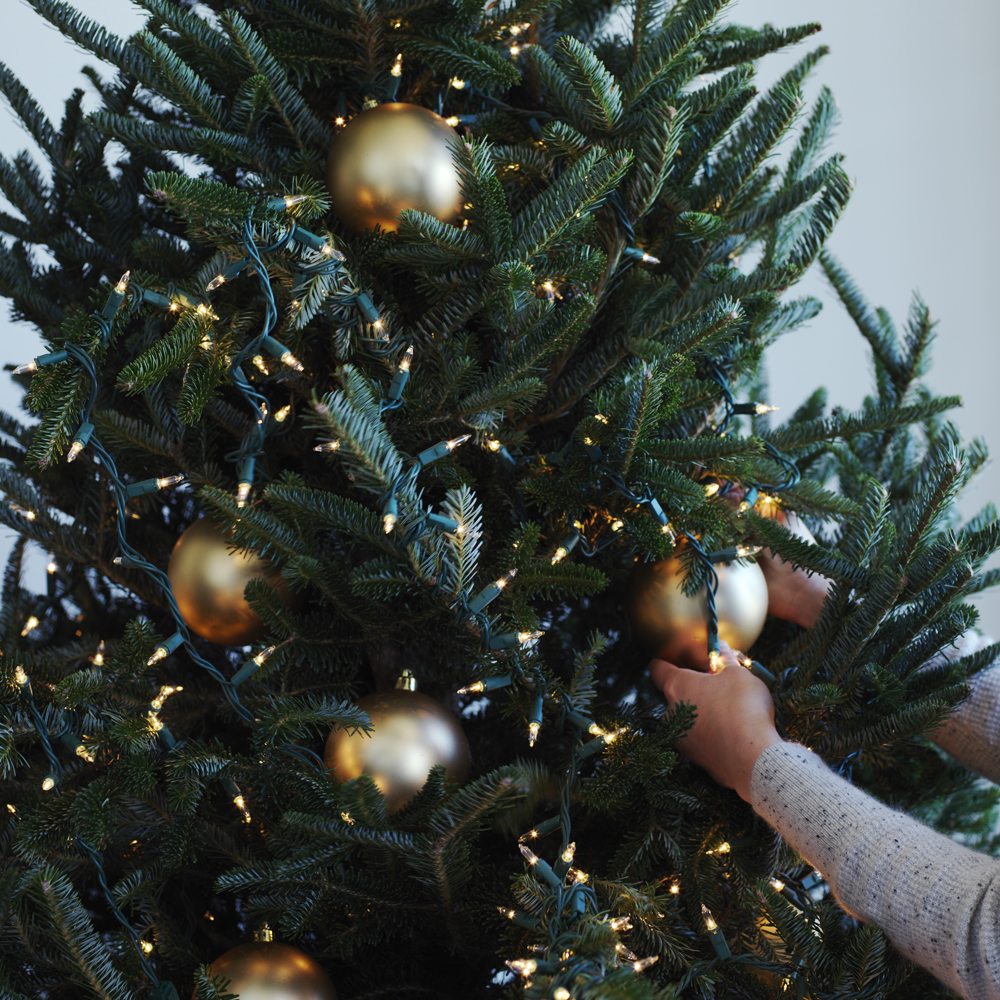
Start with the largest ornaments you have, Wayne says. These are the solid color fillers they're not the most interesting but they help set the base for the tree. Add more than you think you’ll need: A lot of people don't put enough on the tree, which can look sad. Now is not the time to exercise your minimalist instincts.
5. Add the second layer of ornaments.
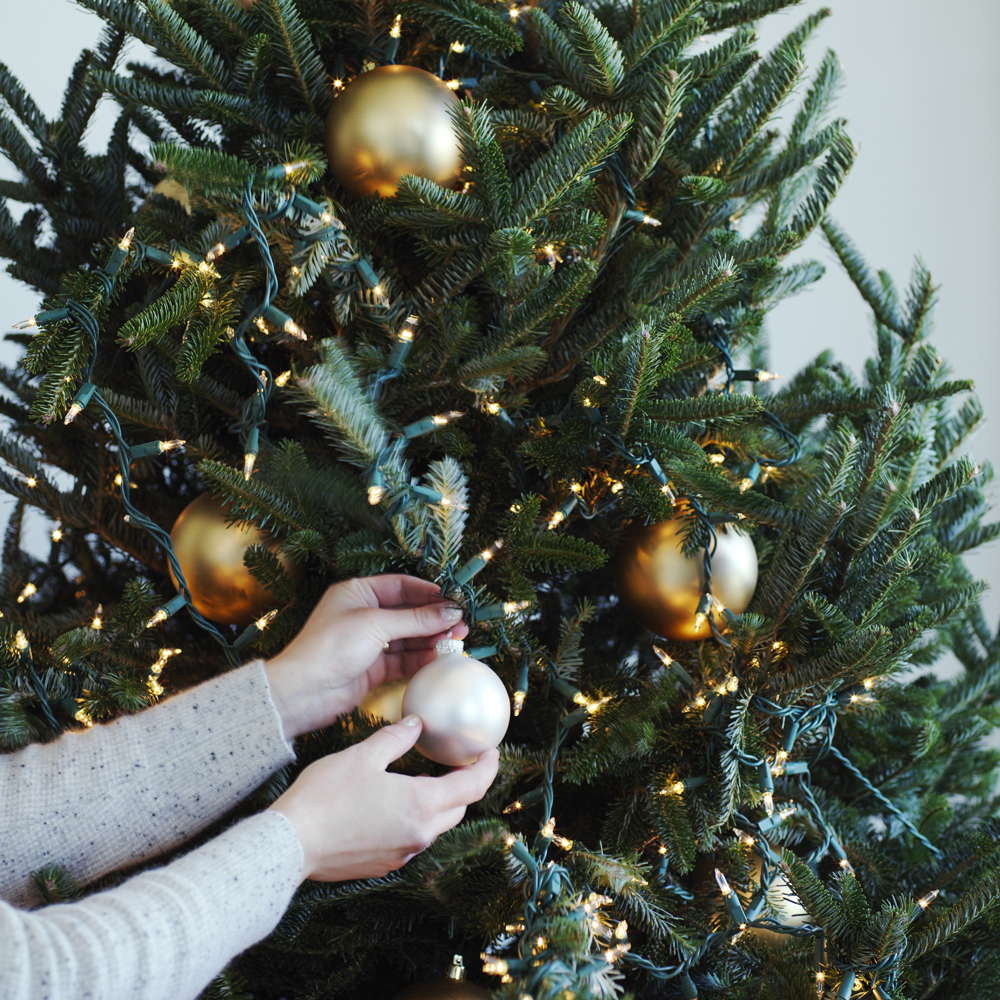
These are your medium-sized ornaments the ones that have interesting shapes or interesting color combinations but they're not your most special ones. Start at the top of the tree and hang them, diagonally down and to the right, all around the tree to create a spiral, Wayne says. Working in diagonal lines helps you keep things evenly distributed without being over formulaic.
6. Finish with a third layer of ornaments.
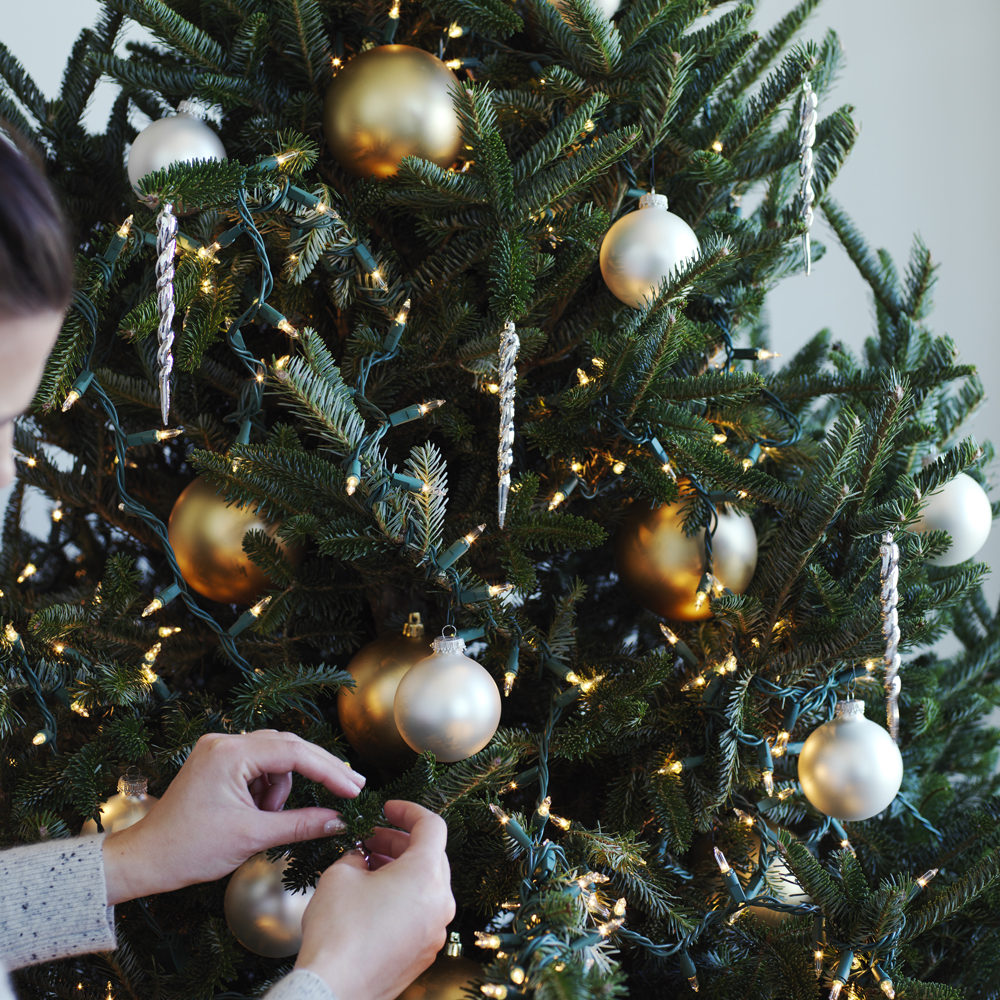
Now hang all your favorite ornaments (the ones that are the most special to you) and anything that's on the smaller side. Once again, work in that diagonal spiral all the way around the tree, Wayne says. Follow these steps and your tree should look full, beautiful, and incredibly festive.

